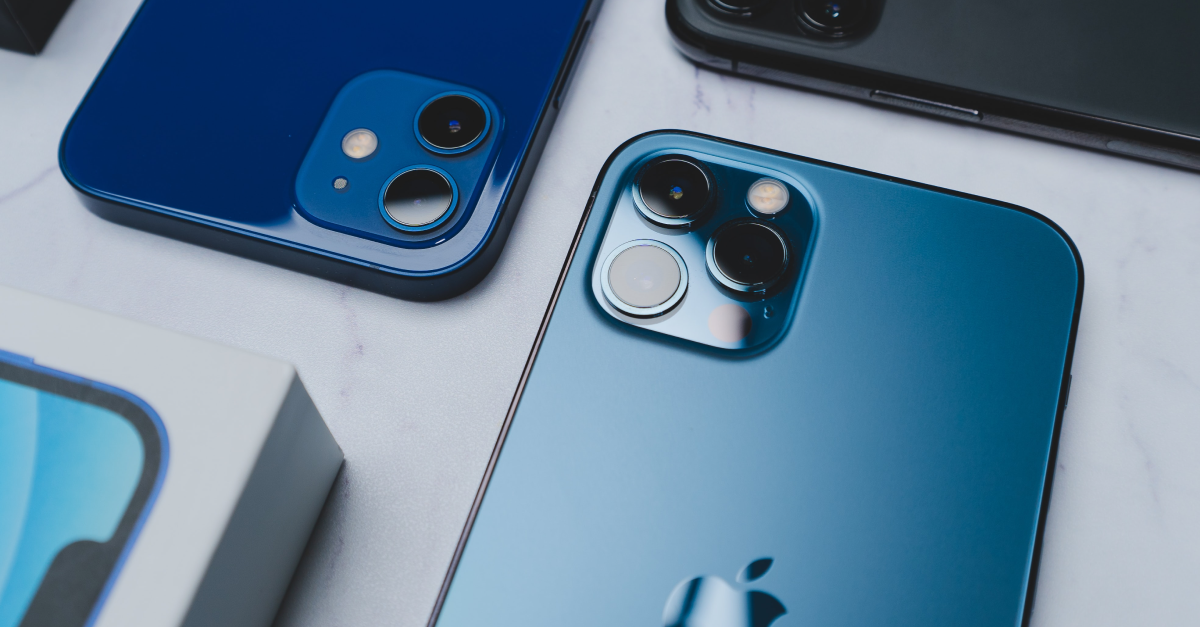
Tips for How to Take Product Photos with an iPhone at Home
Product photography is important. Especially when it comes to selling online.
Potential customers want to be able to see what they’re thinking of buying. And the better quality photos you provide with your product listings, the more sales you’ll make.
But not everyone has the budget for a professional photographer or even a high-quality DSLR camera to use themself.
Thankfully, smartphone cameras have progressed to a level where it’s possible to take decent to high-quality photos with the right technique that will improve your conversion rates.
This is especially true if you have an iPhone. Particularly a newer iPhone. Because while not all smartphone cameras are of the same quality, iPhones provide a fairly reliable experience.
So let’s take a look at how you can take good product photos with an iPhone, or any other smartphone with a decent camera for that matter.
The fundamentals of product photography
Before diving into iPhone-specific tips, it’s good to recap the fundamentals of taking great product images.
Remember, at its most basic level, product photography is there to literally show your customers what your products look like.
This is why high-resolution photos are important – so people can zoom in and see more detail. Low-quality, low-resolution images may do more harm than good by reflecting poorly on the quality of your online store.
Depending on what you’re selling, you’ll likely also want to take multiple photos from different angles so they can see what the entire product looks like.
If you’re selling apparel, jewelry, or something similar, it’s worthwhile considering finding someone to model your products. This lets people see what your products look like when worn and helps them visualize themselves wearing it.
Putting modeling aside for a moment, some of the universal fundaments of great product photos include:
1. Good lighting
Lighting is everything when it comes to photography.
Showing your products in a good light not only ensures people can adequately see what you’re selling but is perhaps the easiest and fastest way to make your photos look professional.
To achieve this, you should avoid using harsh lights like a lamp or direct sunlight. This will cause the side of your product directly facing the light to become overexposed and the other side underexposed.
Instead, if you want to utilize natural light, place your product next to a window but out of direct sunlight. Cloudy, overcast days can be great opportunities to take product photos.
If natural lighting is not an option and you have to use artificial light, make sure your product is lit equally from all sides.
A lightbox or diffuser can help you achieve this. If these are not options and you only have a single lamp, try bouncing the light off of a white surface, like a bedsheet, to diffuse the light instead of shining it directly on the product.
2. A clear, white background
Your background shouldn’t distract or detract from your product.
Unless you’re aiming to create a particular vibe with your product photos (such as using a graffiti backdrop for streetwear), your safest bet is to use a plain white background.
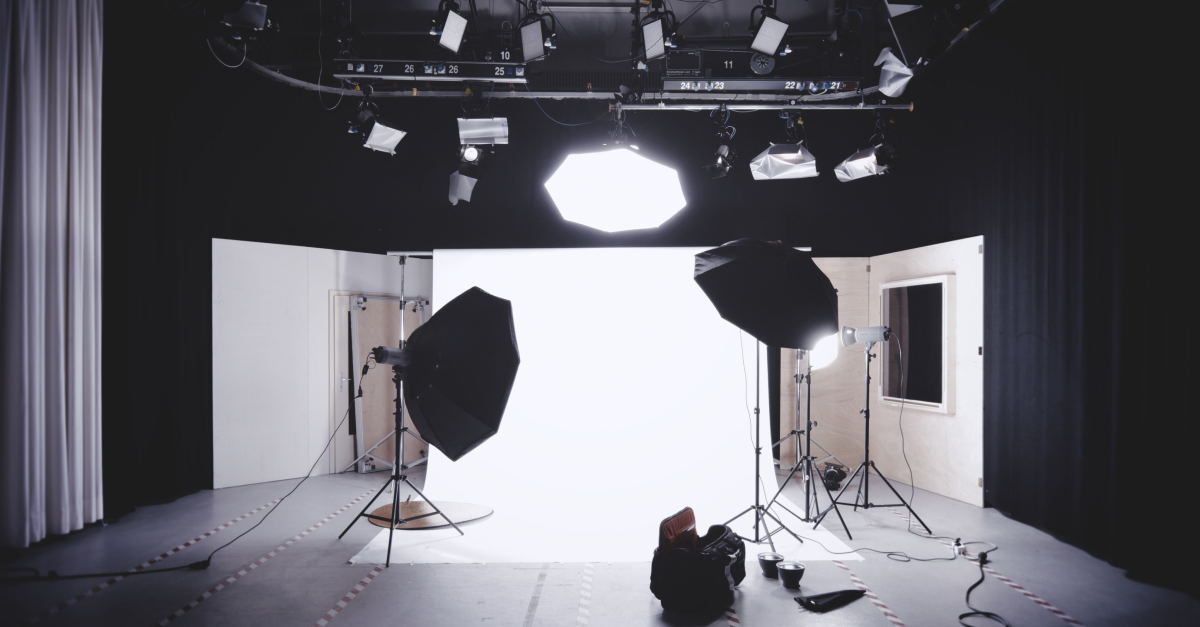
This can be achieved with a large white sheet of paper or a clean linen sheet that sits flat beneath your product and then curves up behind it to form the backdrop. Similar to the example below.
As you become more experienced with taking product photos, you can experiment with different colored backgrounds and mixing things up with angles in your backgrounds, props, and even overlaying shadows.
3. Take photos from multiple angles
As already mentioned, it’s important to show your product from different angles. This lets potential customers make out details and gives them an idea of your product’s quality.
Just think about how customers in a store pick up and inspect products. That’s the experience you want to try to replicate for them the best you can.
Related to this is the importance of taking close-up photos as well.
Product photography with an iPhone
Now that we have the fundamentals covered, let’s look at some specific iPhone product photography tips.
1. Know your camera settings
The default iPhone camera app comes with a number of settings that you can take advantage of to get a better shot.
When you open your camera app, tap and hold on the screen where your product appears. This ensures your iPhone focuses and locks onto your product to prevent it from adjusting settings between shots.
Next to the square that appears, you’ll also know a yellow bar with a sun icon in the middle. You can slide the sun up and down to adjust the exposure level (how bright the image is). Your iPhone should do a good job of finding the optimal exposure level on its own, but this setting is good to know in case you need to make an adjustment.
2. Make sure the iPhone lens is clean
One of the biggest pitfalls with taking product photos on an iPhone is the lens being smudged or dirty.
Making sure your lens is clean is also one of the easiest and quickest ways to improve your image quality. All you have to do is give it a quick wipe with a microfiber cloth.
3. Avoid camera shake
Another common issue with iPhone product photography is image quality being destroyed because of camera shake.
Unless you have very stable hands, it’s best to rest your iPhone against something solid and sturdy when taking photos.
This can be something makeshift like a pile of books (as long as holding the iPhone in a secure position) or something more purpose-built like a small iPhone tripod.
If you want to go the extra mile, use your iPhone’s camera timer to set up a shutter delay. This means that your iPhone won’t take a photo as soon as your press the shutter button, but instead will wait a moment so that any movement caused by you touching the phone goes away.
4. Consider a custom iPhone lens for product photos
If you’re going all-in with using your iPhone to take product images and have bought a light diffuser and tripod to go with it, another accessory worth considering is a custom lens.
These third-party lenses are designed to attach to your iPhone to give you a clearer shot and, depending on the lens, give you more detailed close-ups.
You can learn more about custom iPhone lenses here. If you decide to get one, just make sure it’s compatible with your iPhone model.
How to edit product photos on an iPhone
Now that you’ve taken professional-looking product photos on your iPhone, it’s time to edit them.
While you can spend thousands of dollars on expensive photo editing software, the good news is your iPhone also has a great photo editing app. And the best part is it’s free.
The other great thing is that iPhones have a simple auto-enhance feature that uses AI to make edits to your photos.
To do this, all you have to do is open the photo in your photo app, tap on the ‘Edit’ button in the top-right and then tap on the circular button with a wand beneath your photo. Your iPhone will then automatically apply the edits it thinks will enhance your photo. To save the changes, just tap on ‘Done’.
Making finer edits
The iPhone’s auto-enhance feature is great if you’re new to product photography.
However, as you develop an eye for what makes a good product photo, you’ll likely find yourself wanting to make finer edits.
You can do this on your iPhone by choosing other options that appear alongside the auto-enhance feature beneath the photo.
Some of the most common edits you will likely want to make include:
- Adjusting highlights and shadows to give a more uniform exposure to your photos
- Adjusting the warmth of your photo to correct the white balance if your photos look yellow
- Increasing the contrast to make your images look more professional (be careful not to go overboard)
Custom iPhone product photography apps
If you want to really dive into editing and touching up photos on your iPhone, you might want to think about downloading and installing a photo app from the App Store.
There are plenty of apps to choose from including both free and paid options that will give you greater control over editing photos on your iPhone.
A few worth checking out include:
Adobe Lightroom
Arguably the most popular photo editing app on the App Store, Adobe Lightroom has plenty of free features that let you utilize presets and sliders to adjust the look of your photos.
To unlock the full feature set, you upgrade to the Adobe Creative Cloud Photography plan which currently costs $9.99 a month.
You can find Adobe Lightroom on the App Store here.
VSCO
VSCO is another popular iPhone photo and video editing app that comes with an impressive collection of presets to choose from.
You can also create custom edit workflows with its Recipes feature so you don’t have to keep making the same series of edits with every photo you take.
Like Adobe Lightroom, VSCO comes with a free option that lets you utilize a limited part of the app. Unlocking the full app will require either a monthly or annual subscription.
You can find VSCO on the App Store here.
Camera+
In addition to being one of the most powerful iPhone product photography apps for iPhone, Camera+ is also an advanced camera app so you can take better shots before getting to the editing stage.
If you want to take your iPhone product photography to the next level, then Camera+ is definitely worth checking out.
You can find Camera+ on the App Store here.
Conclusion
Now that you know how to take professional product photos with your iPhone, the only thing left is to start taking photos.
By keeping the points and tips in this article in mind, you’ll have a head start at becoming a great product photographer. As with everything though, you will naturally improve with practice and time.
Once you start taking photos, also share the best shots on your social media in addition to your product listings!

